Headshots are the staple to the modern acting world as much as video and audio reels are. Headshots cover the modeling side, aka background work, and the reels show the agencies how well you can actually act. As we are entering the post covid and digital world, physical headshots are used less, but the same ideas apply to design, layout and PDF outputting them for someone to review at times.amazon.com
Printing
Fedex Kinkos is really cheap and all over each metropolitan area. Bring a usb key/stick with your image in the correct format and print it on normal color laser or a bit heavier weight if you want. Remember prints on heavier paper can streak a bit or sometimes have a glossy or flat look if you ask, so take that into consideration. In 2017, the price is on average to be $0.69-0.79 for a normal color print and a bit more for better paper. Rarely do most agencies really need a super expensive headshot done if you’re starting out. That will come in time. They give a free brown paper bag to put it in, print 2 just in case if you can, and then maybe even put it in a folder so it doesn’t bend. Remember some agencies want your 8.5″ x 11″ print of your headshot cut to 8″ x 10″. Some don’t. They have a paper cutter there, and maybe they will cut it for you. 8.5-8 is 0.5 and 11-10 is 1.0. Cut your headshot with snipping off 0.5/2 or 0.25″ off the left and right, and .0/2 or 0.5″ off the top and bottom. Remember your CV/Resume should be letter size if your pic stays that, or cut the same way too. Then face them away from each other, printing away, and staple at the very top near each side 1/2″ in if you want.
Format
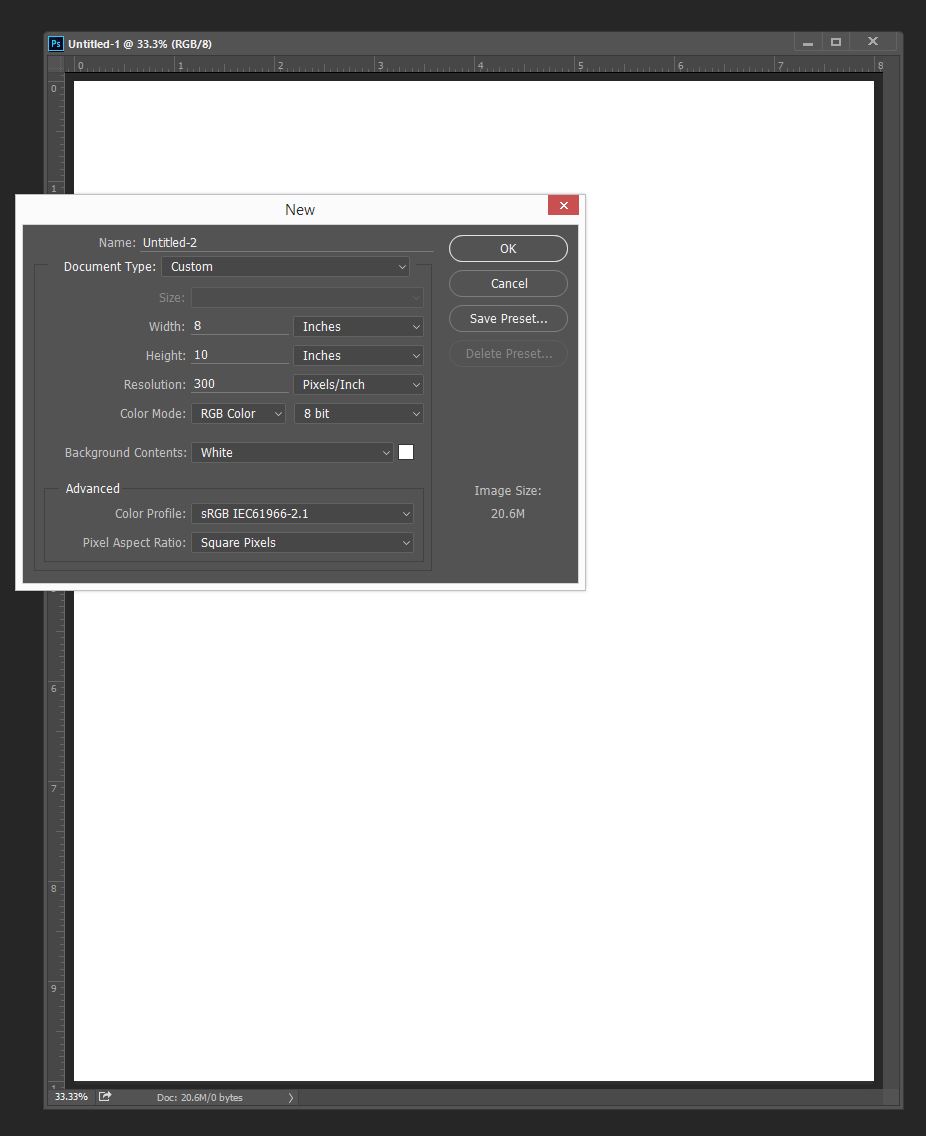
Try to get your headshots in the 8″ x 10″ (width x height in inches) at about 300dpi dots per inch. What that means is if you take a selfie that is nice on your smart phone as you only have that, make sure it is zoomed and cropped in photoshop to a new canvas at 8×10 inches at 300dpi. that is 8*300 (2400) by 10*300(3000) pixels for the canvas size
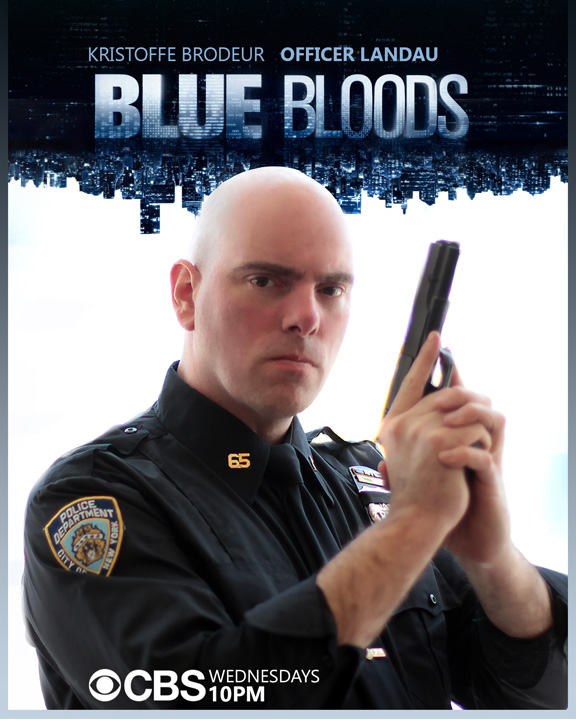
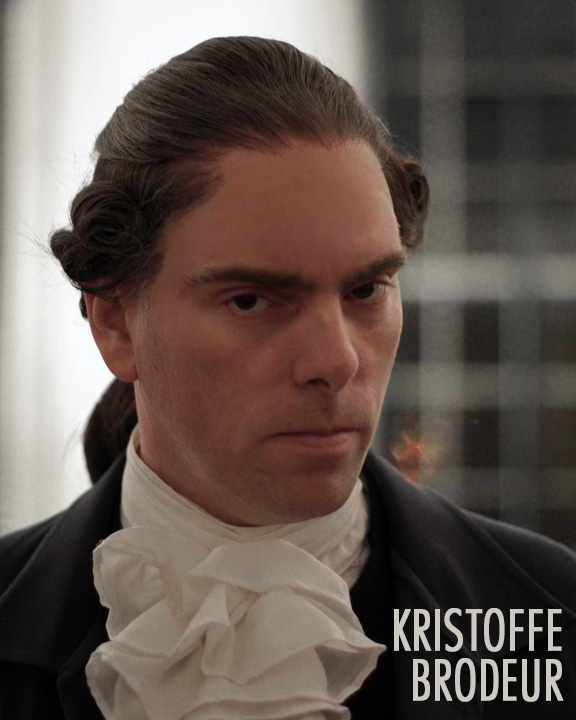
Save your image as a PDF so people can print it out. Remember to look for jpg image quality settings, as 80% is good, but 20% is too compressed for example. You can also make your image with your name in black or white with bold lettering not too big on the image in a clear area or shrink your headshot to have a border on it and then the name underneath or in a place with low contrast on the image behind the name.
Lighting
While you want your features to show in a headshot, try not to make it too drastic that your details fade out when printed and blast your nose and other features. Try to use 2 or 3 point lighting, or even a big white or other color board and bounce light out of the shot onto your face under your chin or your opposite side of the head not in the direct light.
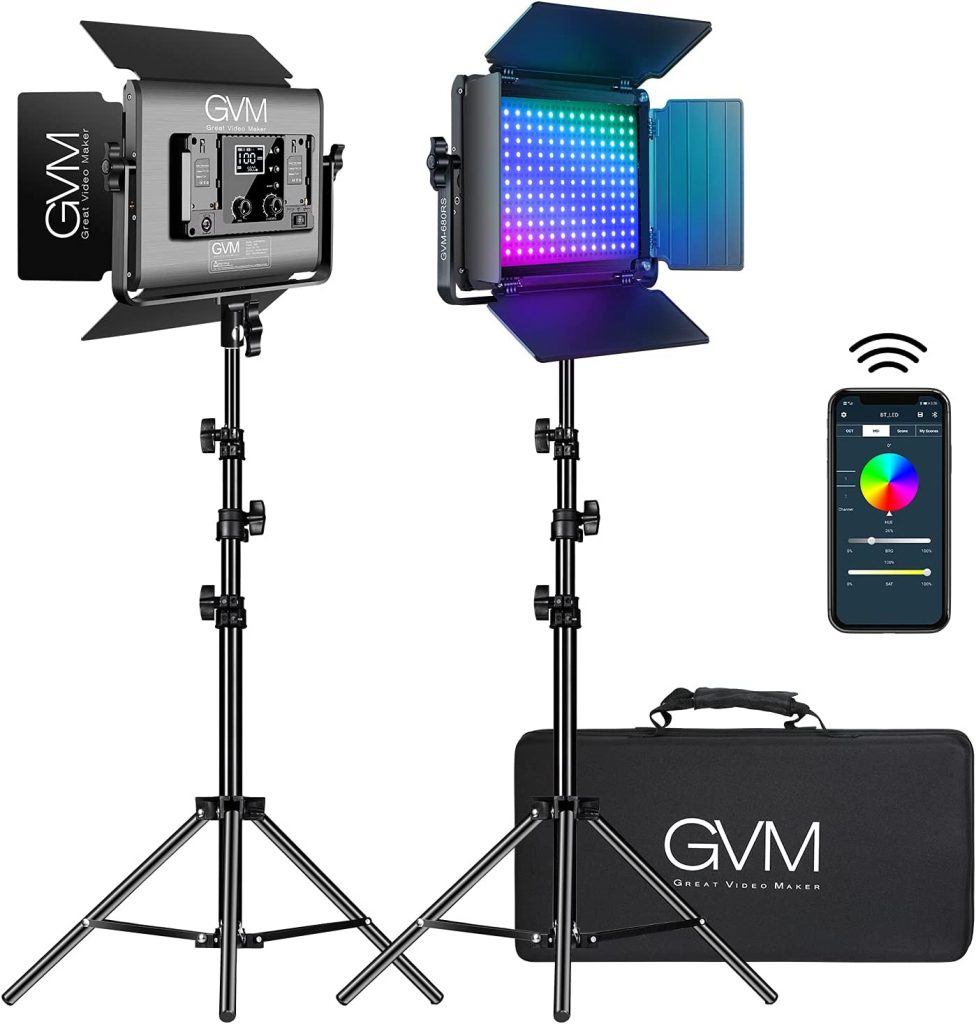
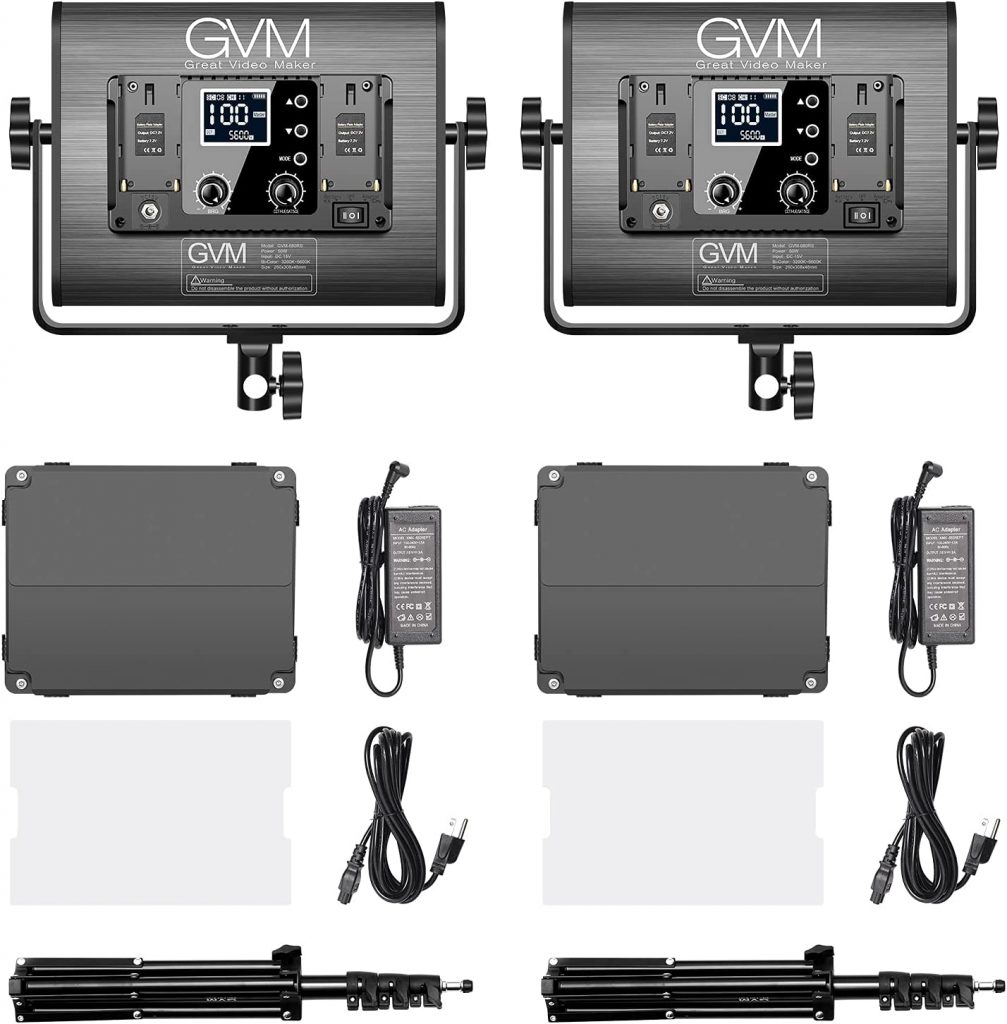
GVM RGB LED Video Light with Lighting Kits, 680RS 50W
There is a great 2 light kit with tripods and power supplies on amazon for $219.99 on amazon now 05-16-2023. It is twice as bight as the older version of the 800D-RGB I got and the same price.
Pose
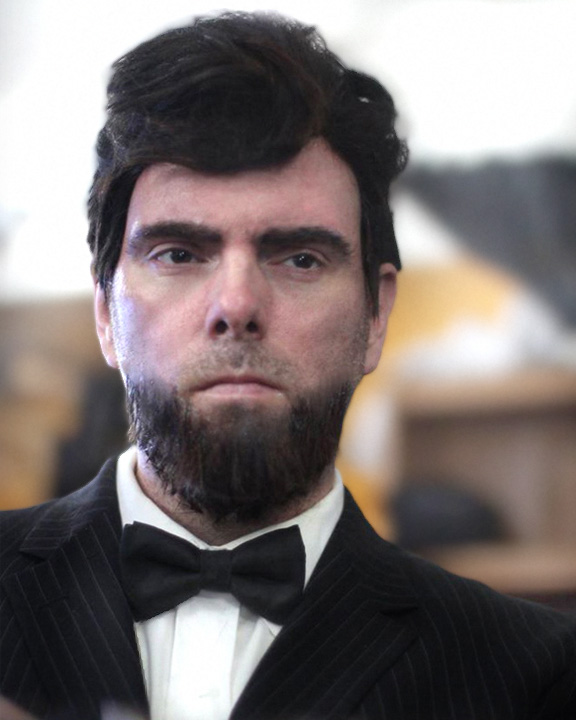
Smile if you feel that is your character to go for, and serious if the role might need a less chipper character. If you are selling your teeth and smile, then make sure you do that, and remember to show a bit of a tilt to your head so your features are visible. Looking into the camera engages the agent, looking off let’s them see a more distant actor / character. Sometimes a few ideas and prints are the best decision. Sometimes making your own headshots or someone else shooting them is a free modeling/acting class in a way.